“How to Grow Garlic: 7 Easy Steps for a Thriving Garlic Garden”
Learn how to grow garlic with our easy guide! Discover the 7 simple steps to grow healthy garlic in your garden, from planting to harvest. Start today!
How to Grow Garlic: 7 Easy Steps for a Thriving Garlic Garden
Garlic is one of the most versatile ingredients in the kitchen. Whether you use it to spice up pasta dishes, add flavor to sauces, or season your favorite meats, garlic is a staple in many households. But have you ever thought about growing your own garlic at home? It’s easier than you might think! In this guide, we will walk you through the simple steps on how to grow garlic in your garden, whether you’re an experienced gardener or a beginner.
If you’re looking to add fresh, homegrown garlic to your meals, you’re in the right place! This blog post will cover everything from preparing the soil to harvesting your garlic bulbs. Let’s get started with these 7 easy steps to growing garlic successfully in your own backyard.
1. Choosing the Right Garlic Variety
The first step to growing garlic is choosing the right variety. Not all garlic is the same, and some types may be better suited to your climate and growing conditions than others. There are two main types of garlic: hardneck and softneck. Each has unique characteristics that can influence how they grow and how you use them.
Hardneck garlic is known for its strong flavor and distinctive flower stalk, which can be harvested for use in the kitchen as well. It tends to grow best in colder climates and produces larger cloves. On the other hand, softneck garlic has a milder flavor and is more suitable for warmer climates. It is also the type of garlic most commonly found in grocery stores because it has a longer shelf life.
When deciding which garlic variety to plant, consider your local climate and the type of flavor you want from your garlic. Once you’ve chosen the right variety, you’re ready to move on to preparing the soil!
2. Preparing the Soil for Garlic Planting
Garlic loves rich, well-draining soil with plenty of organic matter. It’s important to prepare the soil properly before planting to ensure your garlic grows healthy and strong. Start by selecting a sunny spot in your garden that receives at least 6 hours of direct sunlight a day.
Begin by loosening the soil with a garden fork or tiller, making sure it’s well-aerated. Garlic doesn’t like to be waterlogged, so it’s essential to ensure the soil drains well. If you have heavy clay soil, consider adding organic compost or well-rotted manure to improve drainage and provide the nutrients garlic needs to grow.
Once the soil is prepared, it’s time to break it up and create rows for planting your garlic cloves. Make sure to leave enough space between the rows (about 8–12 inches) so the garlic can grow without crowding. Proper soil preparation is key to ensuring that your garlic roots can spread out and grow into large, healthy bulbs.
3. Planting Garlic Cloves
Now that your soil is ready, it’s time to plant your garlic cloves! Planting garlic is easy, and you’ll be amazed at how quickly it grows. The best time to plant garlic is in the fall, about 6-8 weeks before the ground freezes. This gives the garlic time to develop roots before winter sets in. In warmer climates, you can plant garlic in early spring, but fall planting tends to give better results.
To plant your garlic, separate the individual cloves from the garlic bulb, but be careful not to damage the cloves. Plant each clove with the pointed side facing up, about 2 inches deep into the soil. Space each clove about 4–6 inches apart in the row. Once you’ve planted the garlic, cover the cloves with soil, and give them a good watering.
After planting, mulch the garlic bed with straw or leaves to protect the cloves from harsh winter temperatures. This layer of mulch also helps retain moisture and suppress weeds as the garlic grows. With proper care, your garlic cloves will start to develop roots and grow into healthy garlic plants!
4. Watering and Caring for Your Garlic Plants
Garlic is a hardy plant, but it still requires consistent care to thrive. While garlic doesn’t require as much water as some other crops, it’s important to keep the soil consistently moist, especially during the early stages of growth. Water your garlic regularly, but avoid over-watering, as garlic does not like to be waterlogged.
During the growing season, make sure to remove any weeds that may compete with your garlic for nutrients and water. Garlic plants don’t do well with weeds, so it’s important to keep the area around the garlic free from any unwanted plants.
Garlic also benefits from occasional feeding. If your soil is rich in organic matter, you may not need to fertilize your garlic plants, but if your soil is nutrient-poor, you can apply a balanced fertilizer in the spring. Avoid high-nitrogen fertilizers, as these can cause the garlic to grow large leaves instead of focusing on bulb development.
5. Dealing with Garlic Pests and Diseases
While garlic is generally pest-resistant, there are a few common problems that gardeners may encounter when growing garlic. The most common pests that can affect garlic plants are aphids, onion flies, and root maggots. Fortunately, these pests can usually be controlled with organic methods such as neem oil or insecticidal soap.
Another potential problem is fungal diseases, such as white rot or rust. To prevent these issues, it’s important to rotate your garlic crops each year and avoid planting garlic in the same spot for consecutive seasons. Additionally, avoid watering garlic from above, as wet leaves can encourage fungal growth. Make sure to water at the base of the plant to keep the leaves dry.
Regularly inspect your garlic plants for any signs of pests or disease and take action quickly to keep your garden healthy. If you’re unsure what’s causing a problem, seek advice from a local gardening center or cooperative extension service.
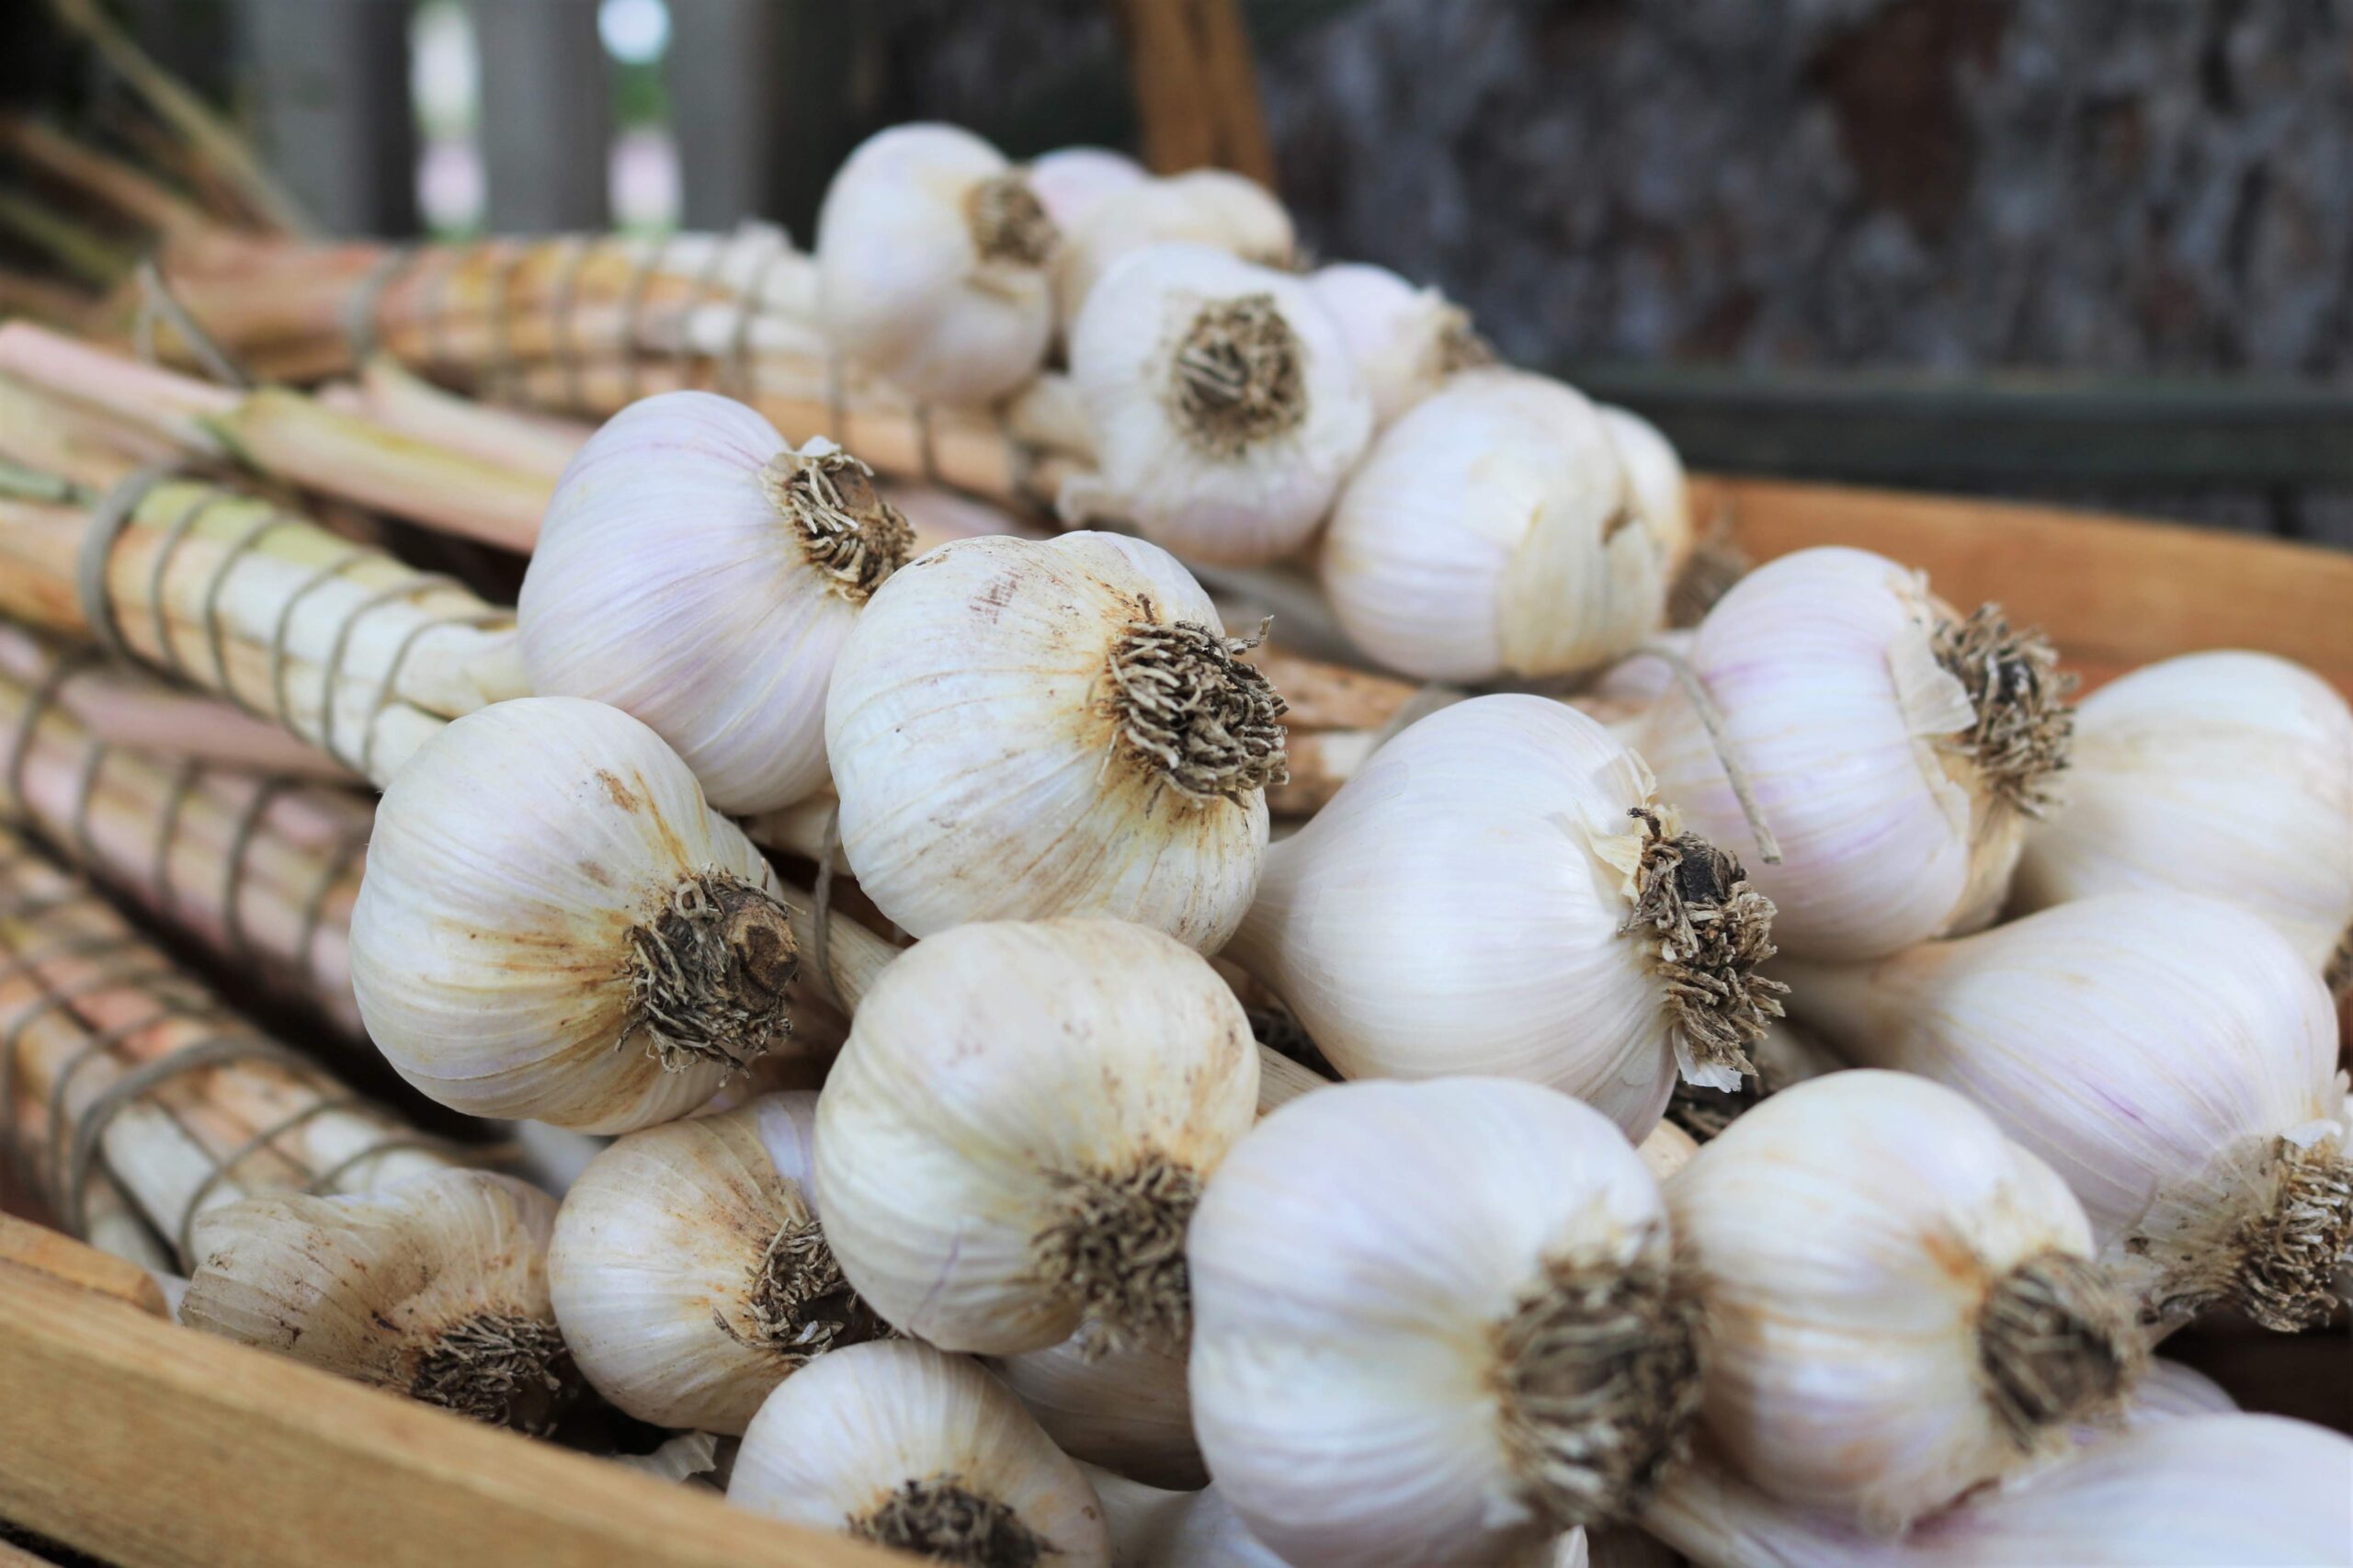
6. Harvesting Your Garlic Bulbs
After months of growth, it’s time to harvest your garlic! The ideal time to harvest garlic is when the lower leaves start to turn yellow, but the upper leaves are still green. This usually happens in mid to late summer, depending on when you planted your garlic.
To harvest garlic, gently loosen the soil around the bulbs with a garden fork. Be careful not to damage the bulbs as you lift them out of the ground. After you’ve pulled the garlic bulbs out, shake off the excess dirt and allow the garlic to dry in a cool, shaded area. Be sure to keep the garlic in a well-ventilated space to avoid mold or rot.
Garlic is typically cured by hanging it in bunches or laying it out in a single layer on a screen for about two weeks. This allows the garlic to dry properly, enhancing its flavor and shelf life. After curing, trim the roots and cut the stems about an inch above the bulb. Now your garlic is ready to use!
7. Storing Your Garlic for Long-Term Use
Once your garlic is harvested and cured, you’ll want to store it properly to keep it fresh for months. Garlic can be stored in a cool, dry, and dark place with good air circulation. A mesh bag, basket, or hanging braid works great for storing garlic. If stored correctly, garlic can last anywhere from 6 to 8 months.
Avoid storing garlic in the fridge, as the cold and moisture can cause the garlic to sprout or rot. Instead, keep it in a pantry, cellar, or another cool spot in your home. Make sure to check your garlic periodically for signs of spoilage, and remove any bulbs that seem soft or sprouting.
Conclusion: Enjoy Fresh, Homegrown Garlic!
Growing garlic at home is a rewarding and easy process that results in flavorful, homegrown garlic you can enjoy all year round. By following these 7 simple steps—choosing the right variety, preparing the soil, planting, caring for your plants, dealing with pests, harvesting, and storing—you’ll be able to grow garlic like a pro.
Readmore:Swifties News: 7 Major Updates You Need to Know About Taylor Swift’s Fans